Showing posts with label Ideas. Show all posts

Saturday, September 29, 2012

Tangled Birthday

 It’s been a long and lovely break but it’s great to be back posting here again. Today I’m sharing about my daughter’s  5th birthday. We had a Tangled inspired Party. Since I have so many new things I want to post, I am going to show you more picture and less words! :) Hope you enjoy this and all of my posts.


The invitations was just a Flynn Ryder Coloring Page but substituded his name with the words "Wanted your presence at ______'s birthday Party: We'll get tangled up in fun!"


At the bottom the date and time, address (at ______'s Tower) and RSVP. Easy and really inexpensive.
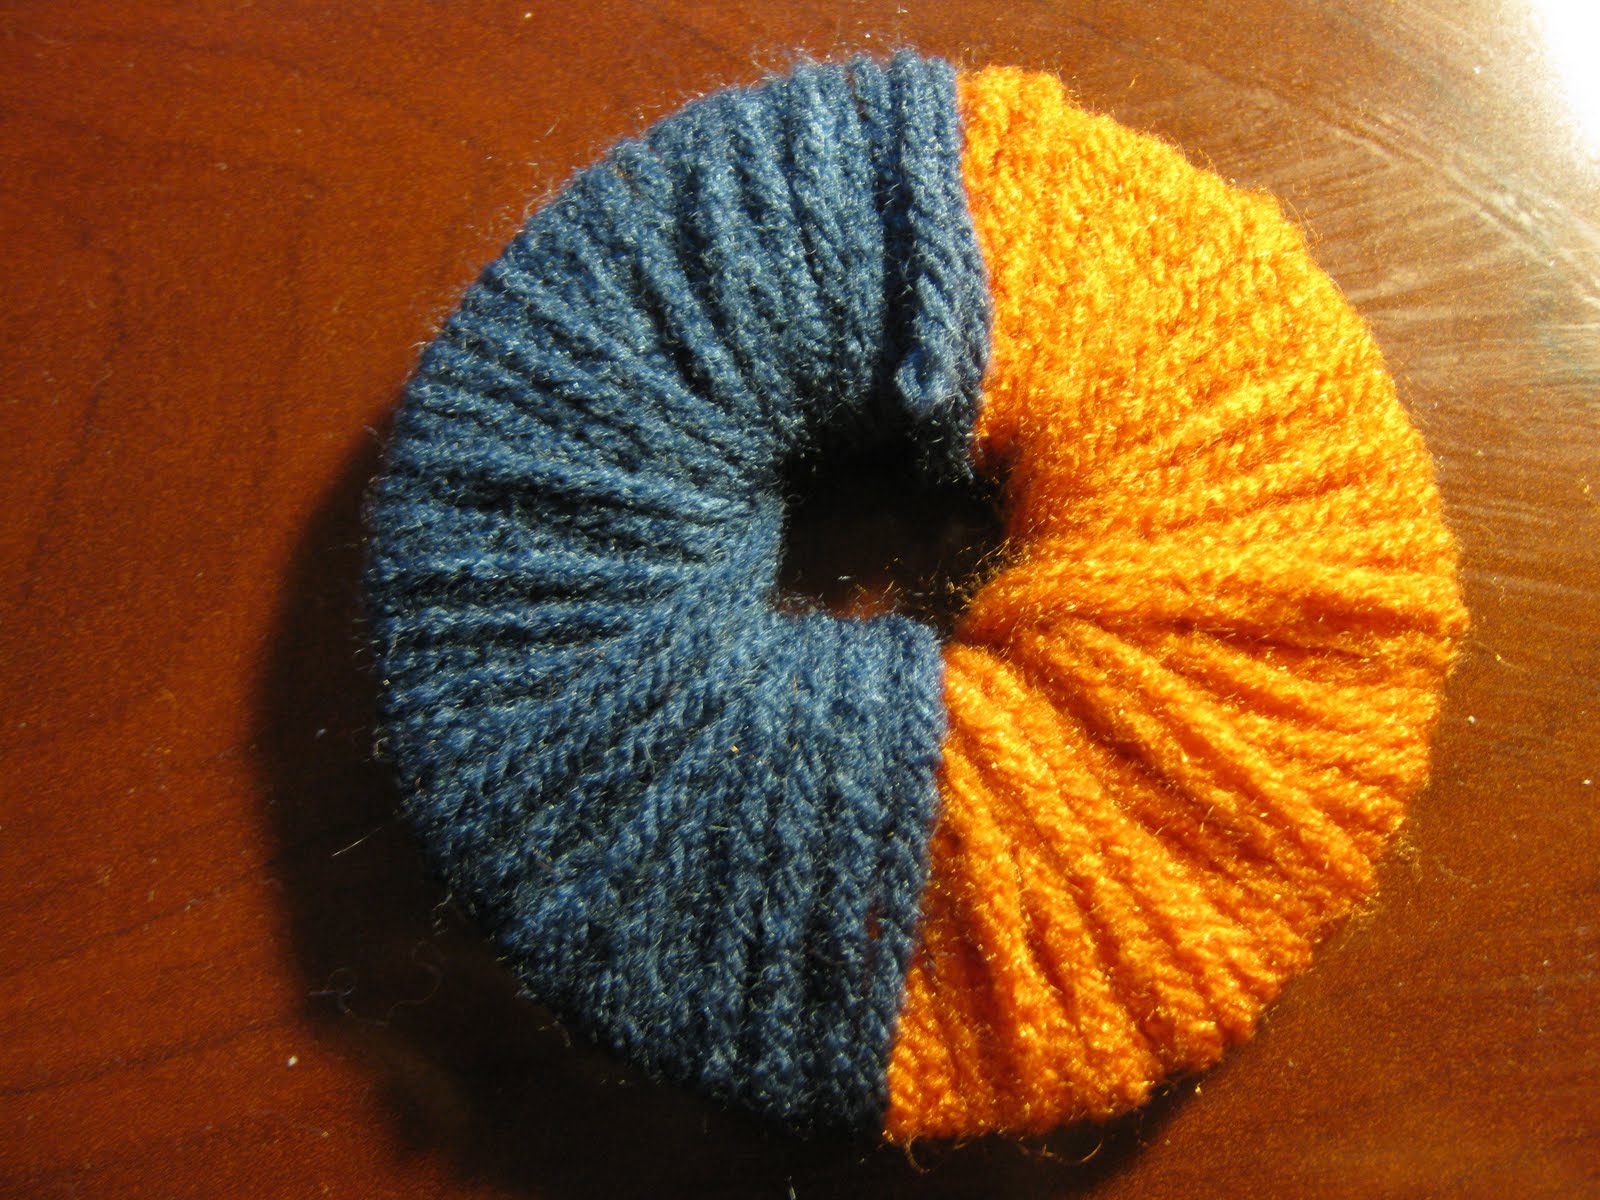
Garland Template
We made a beautiful banner-garland using purple colored cardboard and to make the sun we made a handmade stamp using a potato and some yellow paint. So easy!
Here you can download a template I made for you to use. 


My daughter loved it!

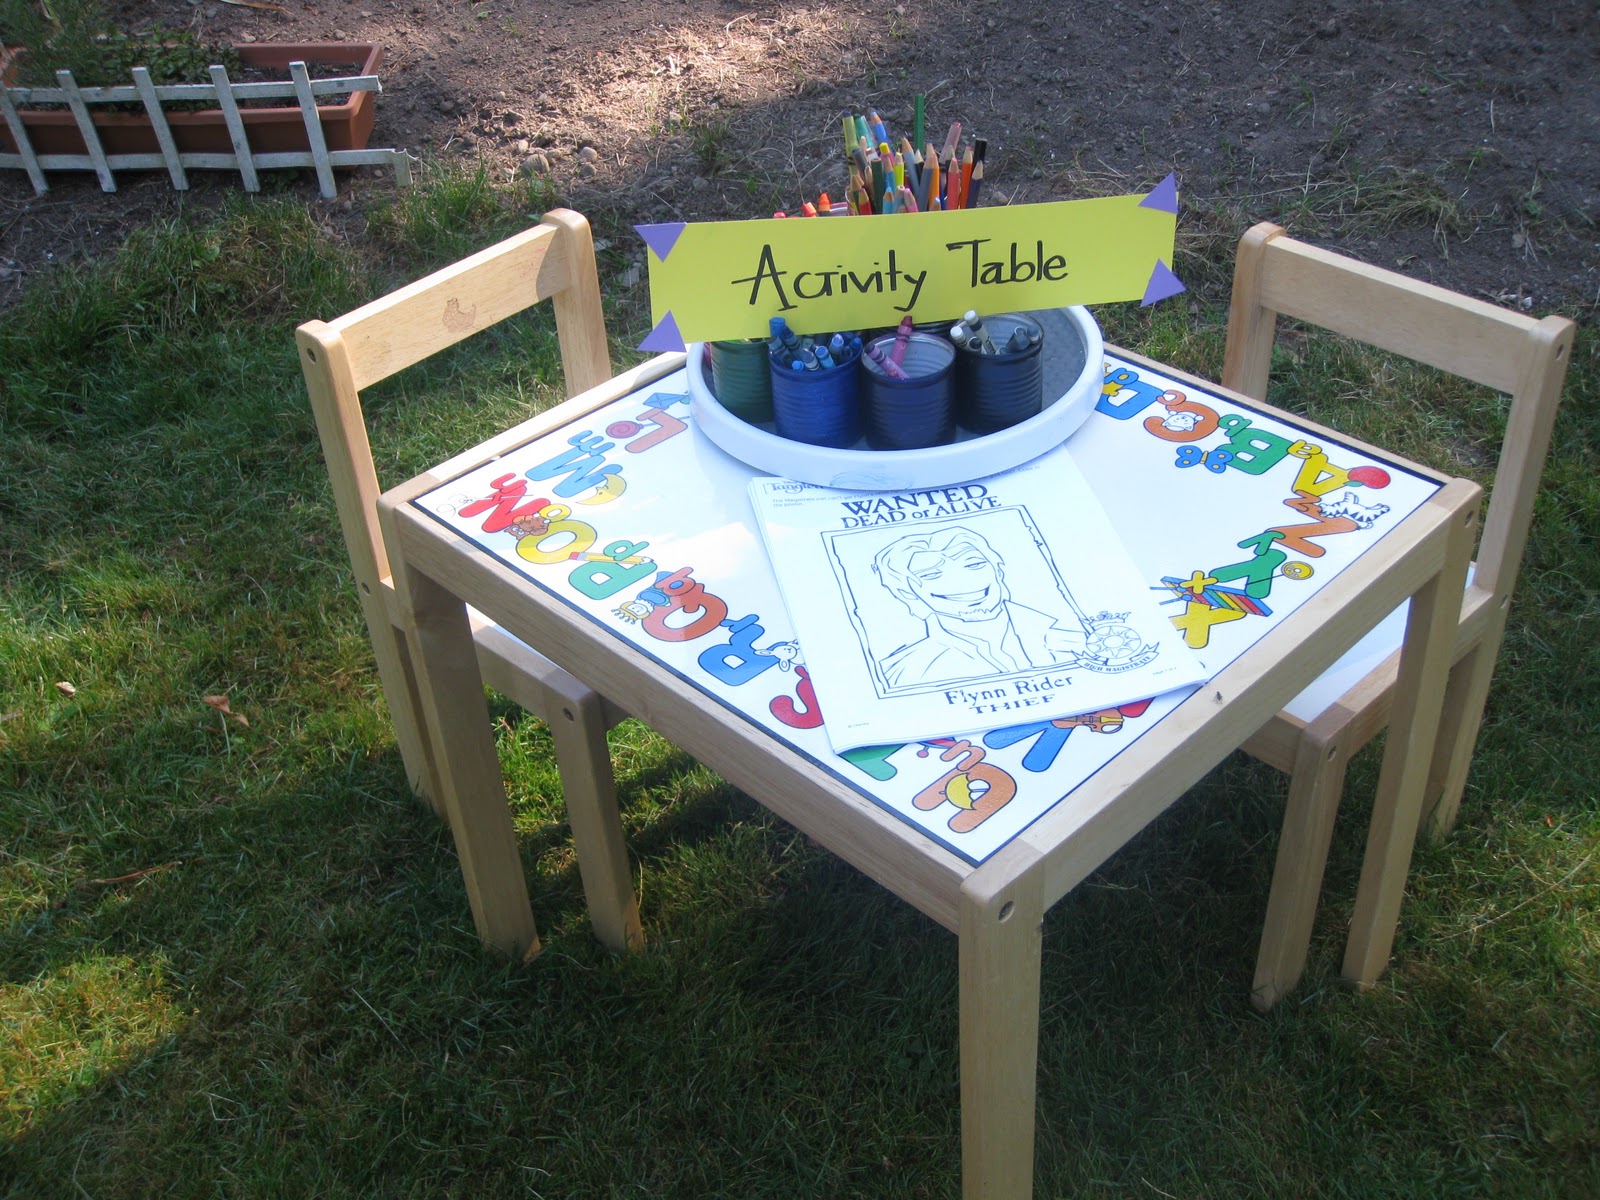
We put some activity tables together. This table was Coloring Table. We used the "Tangled Activity Kit" that you can download here.

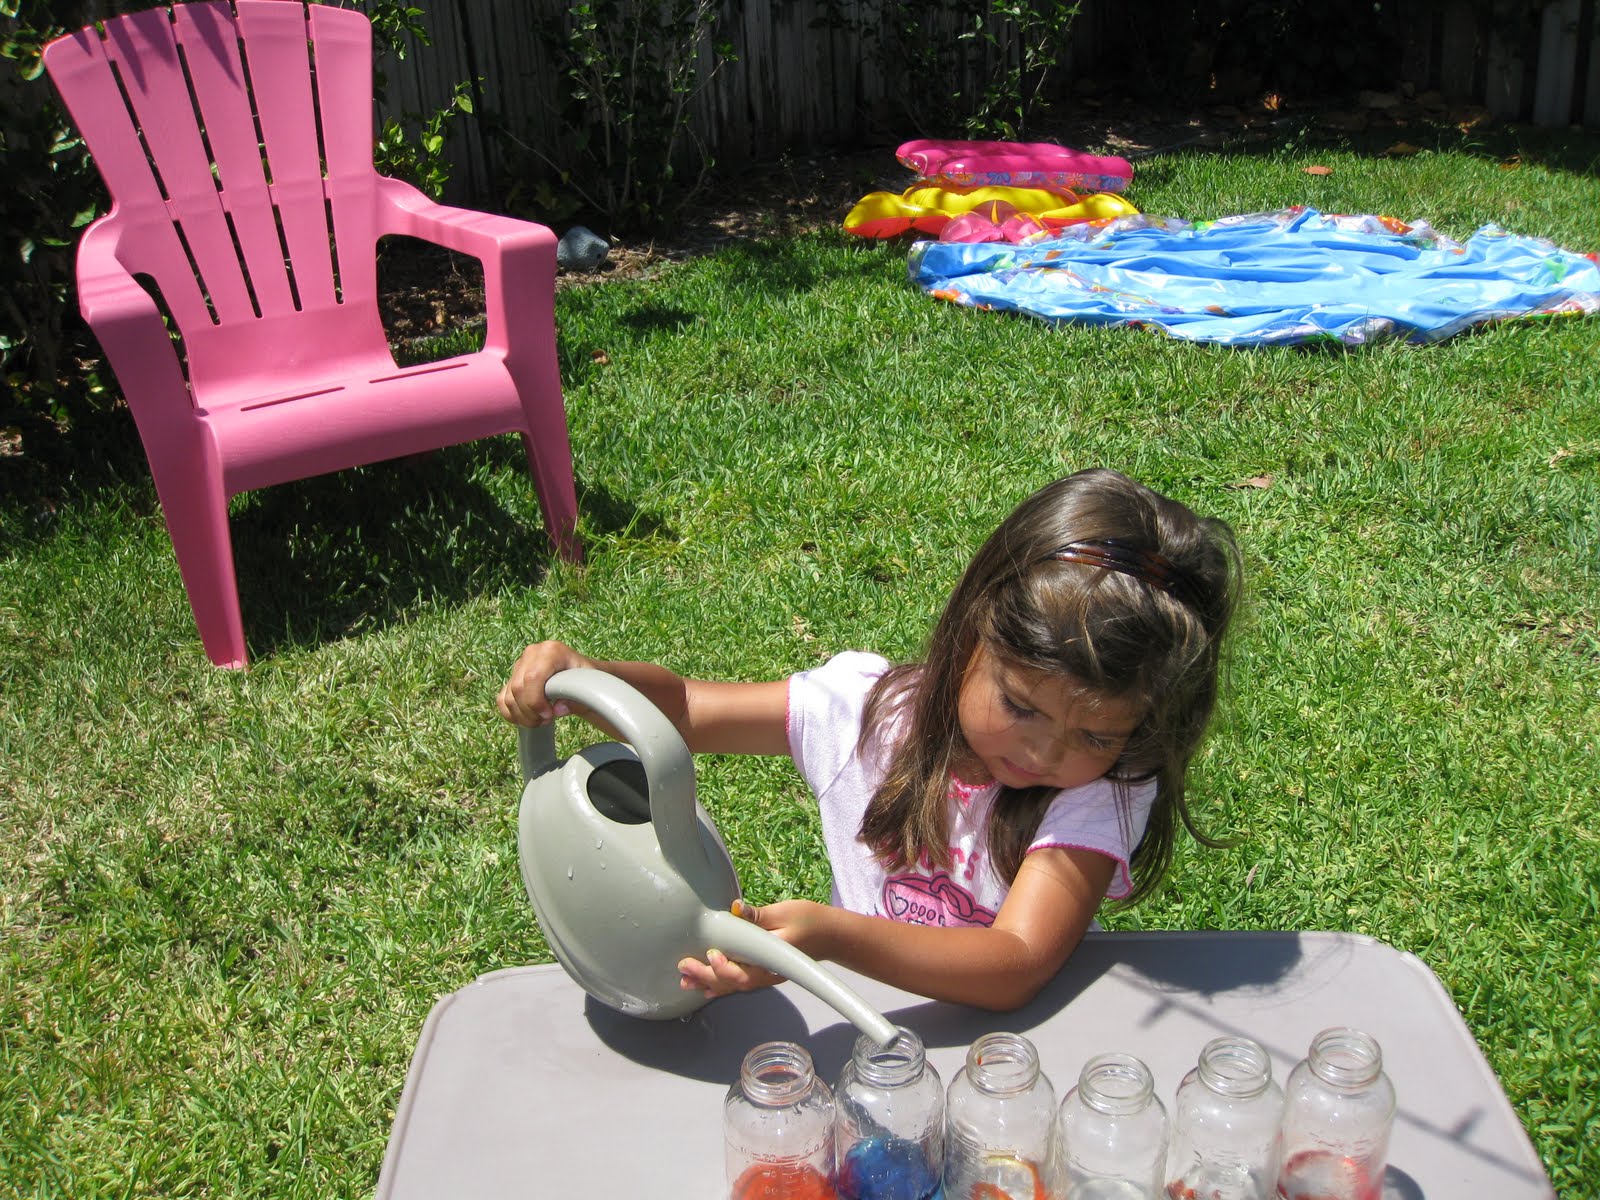
We bought some super cute lanterns and some watercolor paint at on Oriental Trading and let the children color them.

"Pascal" need some color too! This was really a hit! These little Pascal-almost-look-a-like can be found also on Oriental Trading's website. They have super fun stuff!

We decorated the playground with purple and yellow streamers.

My daughter's rainbow lantern.

I used a drying rack to let the lanterns and Pascal dry.

Kids used the streamers to pretend to have very long long hair (this was something they invented and I thought it was really cute)

"Rapunzel, let your hair down!"


This was a really fun birthday! I put some glow in the dark sticks ( Oriental Trading) in the goody bags so they could put them inside the lantern.

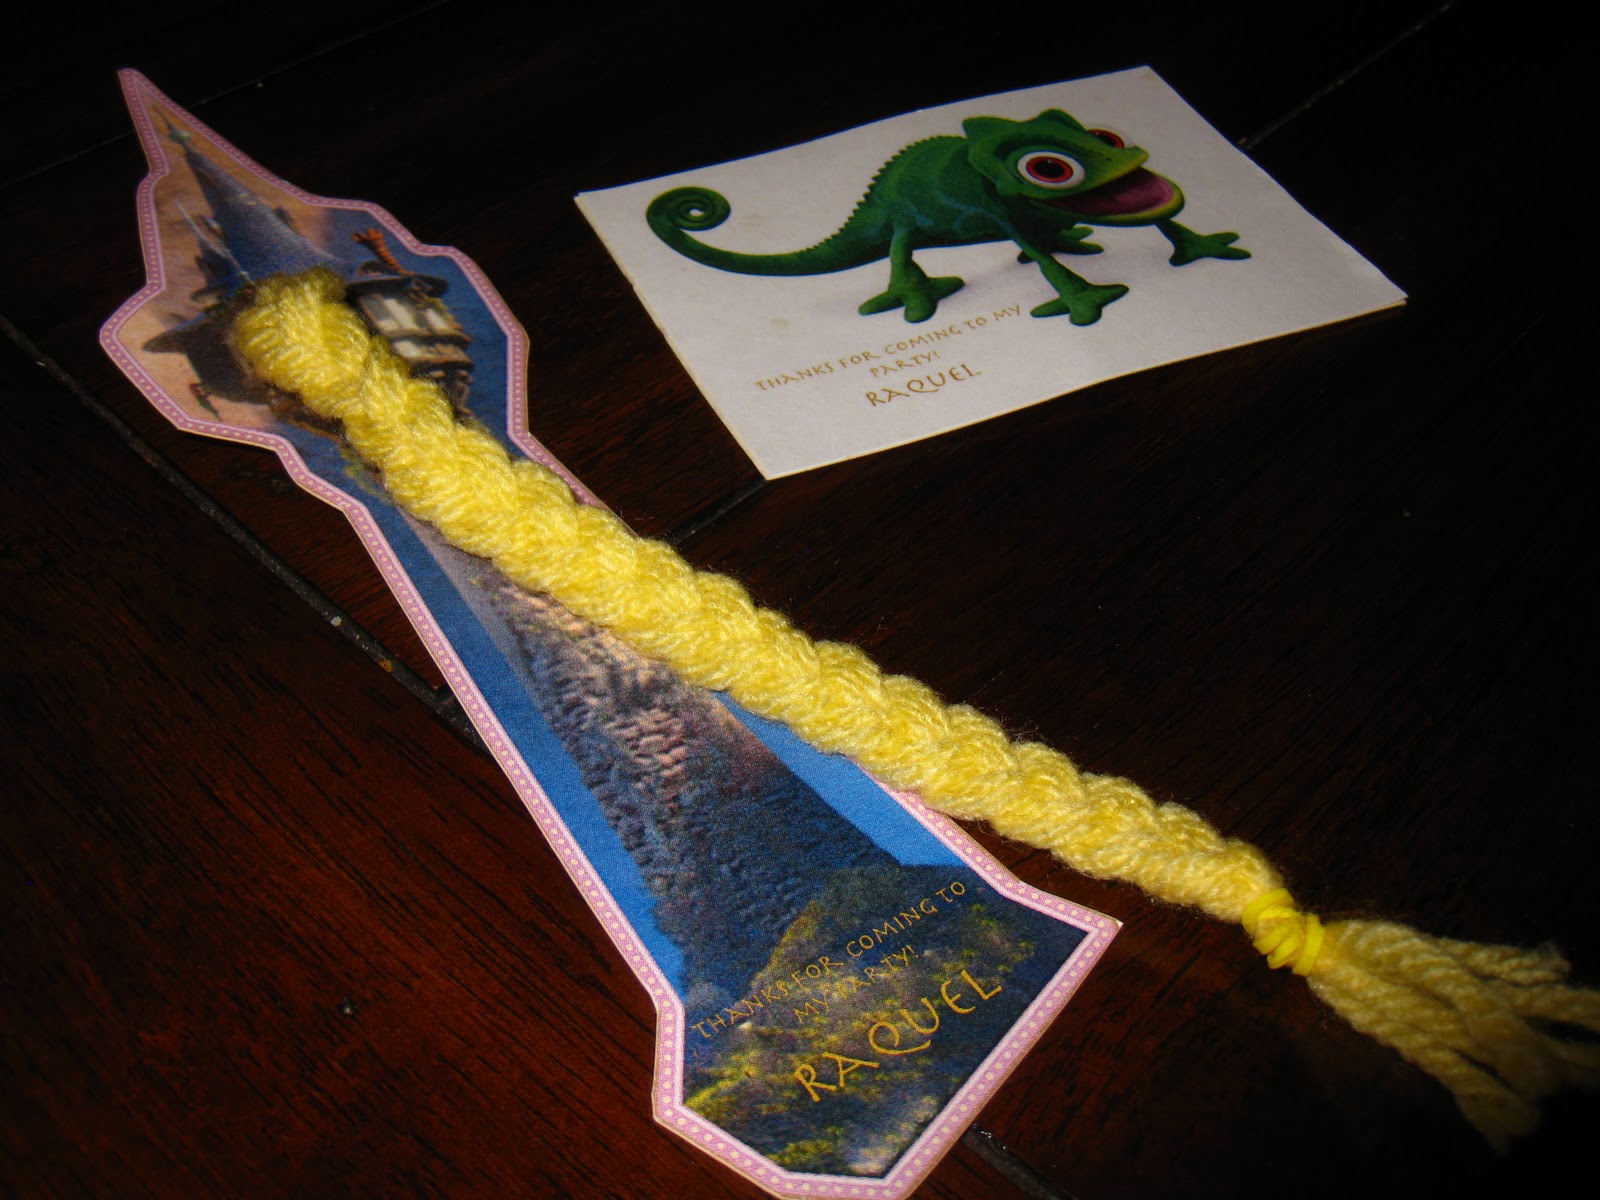
Thank you for coming to the party!!! 
(Girls and boys Thank You bookmark)

Wednesday, June 9, 2010

Father's Day Gift....We make a Great Team (Football Pompom Weepuls)

Do you remember those very famous '70 - '80 little colored pompoms? They were called Weepuls and we used to give them to friends, family, for Christmas, birthdays.... The messages were beautiful and having these weepuls attached to it, made it more beautiful....it was just so trendy. So I thought this would be nice for Father's Day. We made these Weepuls using the colors of his favourite Football Team... :-)

Here is how I did it.
1.- Make a Pom Pom. Yo can use this tutorial or go step by step as I show you on these pictures. (I recommend to use this tutorial for the smaller pompoms and do the bigger ones using the cardboard.)

Create 2 donuts shaped pieces of cardboard 
Place the rings together and pull the wool making a loop


Make a knot and start to wind the wool around the rings.


You should have something like this. You can use one or several colors.


You can wind several layers...the more wool you use, the bigger the pompom

Move the wool a little 'till you see the cardboard.


Cut the wool around the edges of the cardboard. It is VERY important to keep your other hand holding the center of the cardboard.


Pass a lenght of wool between the two pieces and tie it firmly together. 


Remove the cardboard Rings (Cut if necessary)

Trim the pompom until it gets a tidy look

A nice trick is to hold the pompom several seconds above some steam. This makes the pompom very soft!!! 


Using felt, cut a heart that you can use as feet.

Some googly eyes, and done!

We wrote a very special message for daddy

And here we are...the 4 of us! (Look at the little girl with the pony tails on the left....hehehe)


Tuesday, May 25, 2010

Letter X is for Xylophone

We are almost done with the Alphabet!! Letter X was a really difficult one, but we found some great ideas on the Internet. X is for Xylophone! First we made a Xylophone using toilet paper rolls...this is not a Xylophone that's really going to make music but the idea is to create, use your imagination and have fun! This is how we did it:

PAPER ROLL XYLOPHONE


We used 4 toilet paper rolls (We made the rolls each time smaller. The 2 littlest ones, are the part of the third and fourth roll. You can use scotch to close them)


All we needed was:

  • Toilet paper rolls
  • Paint
  • Glue
  • Jumbo sticks
  • Needle
  • Yarn
  • Beads ( if you like)


    Before painting, I made a little hole in the toilet paper rolls. Now we can "sew" them together after they are painted.
    My daughter painted each toilet paper rolls and the sticks with a different color.


    We sewed the toilet paper rolls using the beads in this step. 
    She glued the jumbo stick on each roll (you can  match it or let your child be original...mine wanted to be creative. That's OK with me!)

    You can leave it like this and have a mobile, but we glued it on a  wrapped shoebox cover and my daughter wrote the word Xylophone all by herself! This was for me the best part of this project... :-)


    WATER BOTTLES XYLOPHONE

    Another type of Xylophone (that actually works!) is this one! My daughter really loved this one! We used 6 glass bottles, water and food coloring.

    You just need one drop of paint and water. Pour as much water as you want. You can leave them like that or put the lid on. And now just play! 


    Isn't it cute to see the faces of your children when they realize they have just created something so cool??


    Friday, May 21, 2010

    Letter W is for Watermelon!


    Al you need for these delicious Watermelons is a paper plate, some red and green paint, glue and some Watermelon seeds you can buy in any garden shop.

    My daughter loved this activity and reminded her dad that these Watermelon were not for eating...they are just pretend...I guess she said that because they look just like real Watermelons!

    Here is how you do it.

    Fold the paper plate in 2


    Open it again and paint the center red and the border of the plate with green paint


    Glue the seeds


    Fold it back a little bit...Enjoy your Watermelon!


    Tuesday, May 18, 2010

    Letter V - Vegetalbe Print and Venus

    This week, letter V.


    VEGETABLE PRINT
    We made a painting using as brushes and stamps some vegetables. 
    We used carrots, broccoli, peas, cauliflower, zuchinni, and a potato. The idea is to dip the vegetable into the pains and stamp them onto paper.
    My daughter had so much fun! The lettuce was a BIG brush, the peas rolled and made a nice line. There are lots of vegetables and some have realy nice prints (maybe nicer than the once we used), so try it.
    We loved the brocolli and peas pattern! 

    I used a potato to make a stamp.  I cut the potato in half. On the cut face of the potato, I used a knife to carve the letter V. I cut away the potato surrounding the shape, so that it end up with an aprox. 1/5 inch shape. 

    Here you can see the letter V print made with the potato.


    VENUS

    Remember the coffee filter, markers and water activity (Umbrella)? Or the Earth activity This time we made Venus!

    We colored a coffee filter with red, orange and pink markers. Put some water on it and let it dry...that's all!